


Helloooooo everyone!
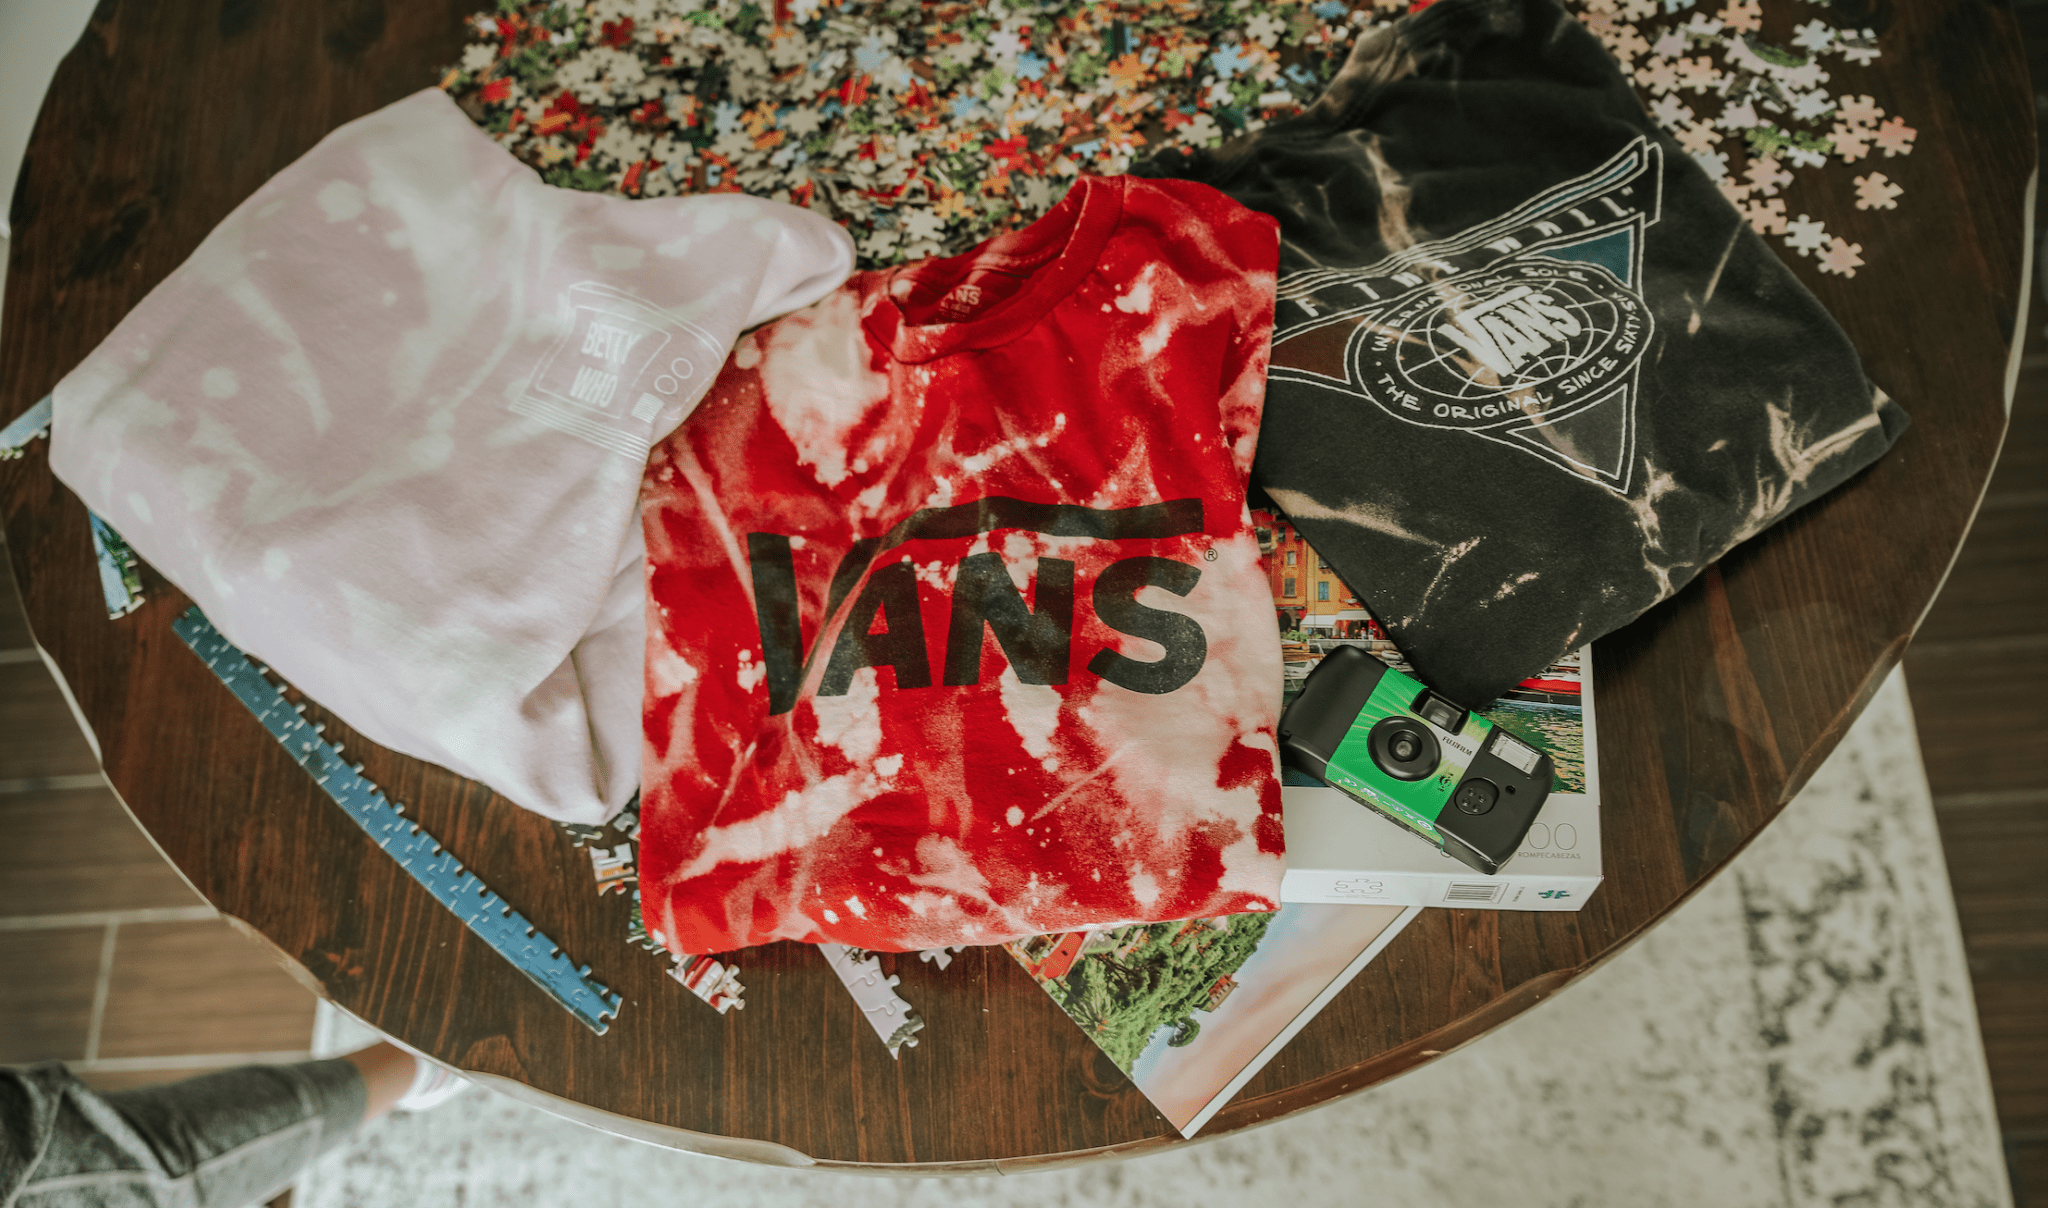
Hope you're all holding up okay in quarantine!! We've been bored and trying to fix our boredom by staying creative, and this is what we came up with. TIE DYE BLEACHING! It's so easy, you probably already have the stuff at home, and it's a great way to recycle those old t-shirts and sweatshirts that you were going to donate. Interested? Keep reading to find out how to do your own!
1. GET YOUR TOOLS

Grab some bleach, a spray bottle, some vinyl gloves (not required but nice if you don't want to get bleach on your hands), some water, and your old clothes. Fill up the squirt bottle with one part water and one part bleach (or more if you want a stronger effect!). We recommend doing this outside so you don't inhale all of the nasty fumes from the bleach and it's a good excuse to get some sun.
2. SCRUNCH AND SWIRL

Take your piece of clothing and grab it in the middle, then continue to twist it to create a spiral. You can also scrunch it together, fold it, whatever you want! There are tons of different techniques you can find from a simple Google search.
3. GET SPRAYING

Now for the fun part! Start spraying your item of clothing. You'll start to see a change pretty quick, maybe 30 seconds. Let it sit and then spray as much more as you want until you're satisfied with the result!

4. LET DRY

Let your super rad items dry for a little bit to make sure the bleach is dry. Once that's done, throw it in the washing machine on warm for a quick wash and dry normally!
5. ENJOY YOUR GOODIES

Enjoy your new creations!! Make sure to tag us if you make any!!